
How to Connect Your Soundboard to Captional
There are a few ways to use Captional to stream real-time captions and translations, but one of the most reliable setups, especially in church tech booths, is connecting directly to your soundboard.
If you’re just getting started, you can absolutely run Captional from a laptop or mobile device placed near the speaker. That works great for breakout rooms, small groups, or on-the-go setups.
But in many churches, the soundboard already captures all the open microphones, like the preacher, scripture readers, worship leaders, and announcements. Tapping into your audio system ensures you’re getting the cleanest signal possible, and it keeps things consistent from week to week.
This guide walks you through the basics of how to connect your soundboard to the Captional Webapp, whether you’re using a traditional analog mixer, a digital console with USB output, or a networked audio system like Dante or NDI. We’ll cover the basics, recommend a few trusted tools, and help you decide what setup makes the most sense for your space.
Let’s get into it. 👇
2 min video on setting up Captional using a computer and an analog output from your mixing board.
Connecting your soundboard to Captional is easier than you might think. There are two main ways to do it—choose based on your gear:
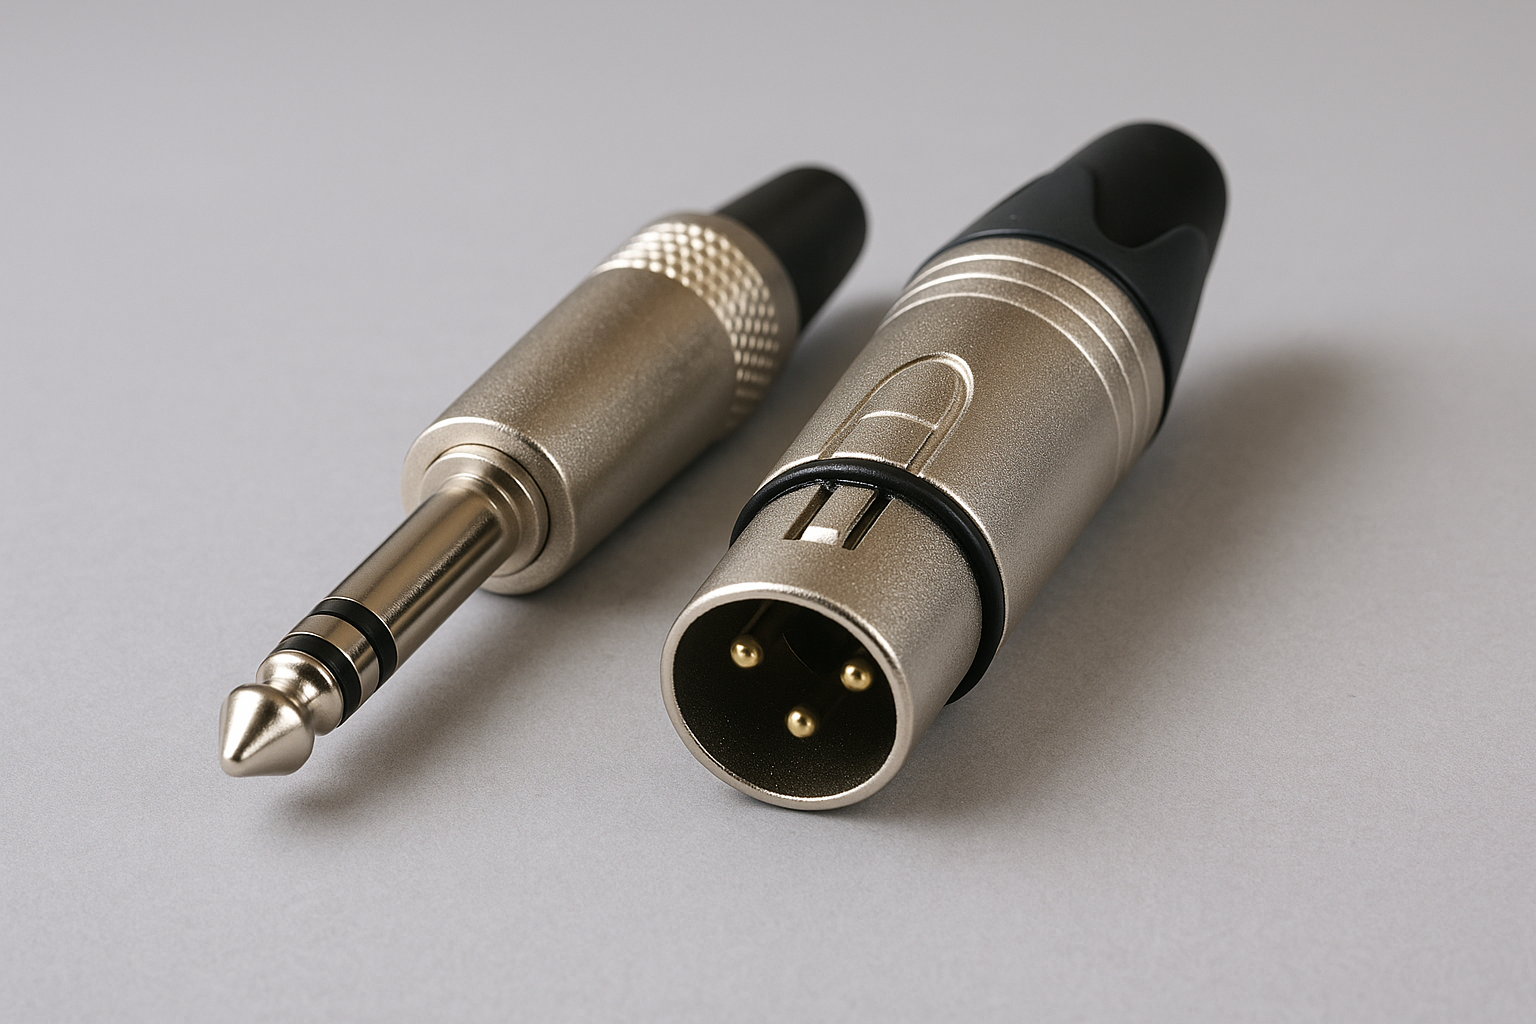
1. Analog balanced output → USB audio interface
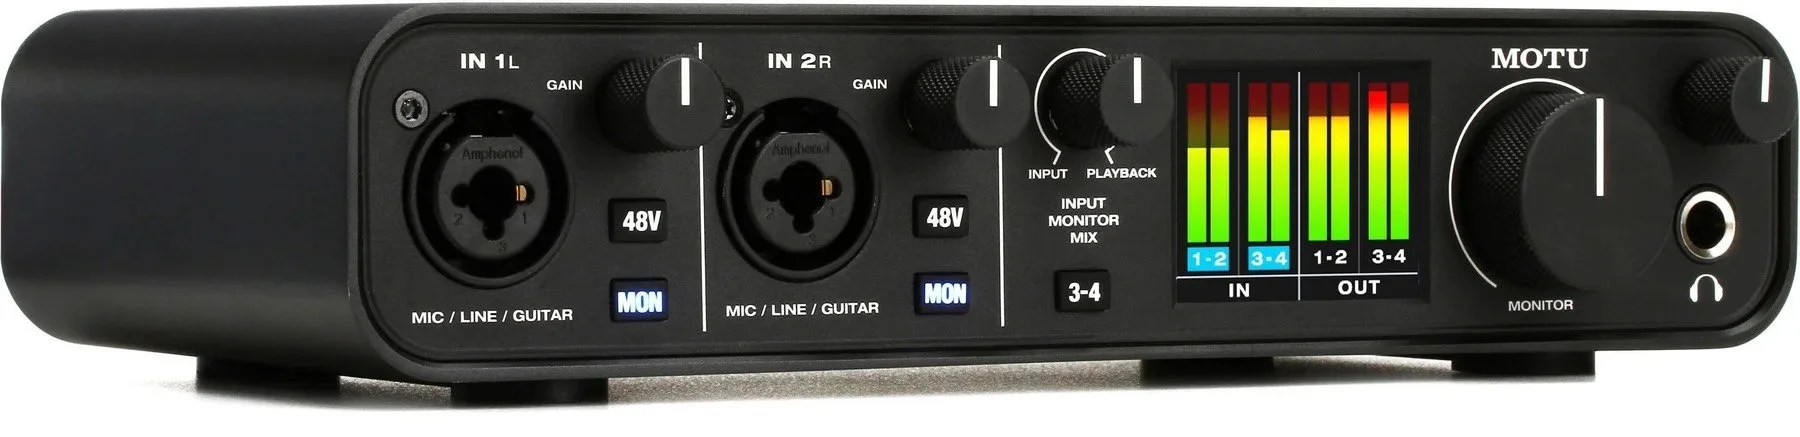
MOTU M2 USB-C Interface
If your mixer has balanced outputs (TRS/XLR), you’ll want to grab an audio interface that converts these analog signals to USB/USB‑C. Here’s how to set it up:
Send an auxiliary mix from your mixing board that includes all microphones (e.g. talk mics).
Run that aux output via balanced cables into the line inputs of your audio interface.
Connect the interface’s USB/USB‑C to your Captional streaming computer.
In Captional’s “Streamer Interface”, select the interface as your audio input device.
You’re done! All your mic audio will flow seamlessly into Captional.
This setup ensures clean, broadcast‑quality audio using balanced lines and quality converters.
2. Digital audio or NDI → Virtual input
If you’re working in a fully digital environment—like Dante, AES67, or NDI—you can pipe audio directly without analog gear:
a. NDI + Virtual Input
Use NDI Virtual Input (part of NDI Tools) to convert any NDI‑streamed audio into a virtual webcam/audio device
Select that virtual source in Captional’s interface.
Instant audio—no physical cables involved.
This is ideal for streamlined digital workflows—especially in broadcast or AV setups.
b. Other digital audio systems (e.g. Dante/AES67)
If your system supports loopback or virtual audio outputs, you can capture that directly.
For example, Dante Virtual Soundcard or AES67-enabled virtual audio drivers.
Then select them in Captional just like any physical device.
⚠️ A note on analog mic/line jacks
While some laptops offer combo mic/line jacks, using balanced outputs with them can cause level mismatches or phase issues. Don’t rely on them unless you’re sure it’s a line-level balanced input. Better to use a proper audio interface and balanced cables.
Choosing an Analog to Digital Audio Interface (XLR to USB-C)
Here are some examples of analog to digital interfaces at different price points.
✅ CAD Audio CX1 – Single Channel USB Audio Interface (24-bit/96kHz)
A compact, budget-friendly audio interface that converts XLR or 1/4” inputs to USB.
Ideal for capturing a clean aux mix or single mic directly from your soundboard.
Simple plug-and-play operation with professional 24-bit/96kHz resolution.
✅ Roland RCC-10-USXF Black Series – XLR Female to USB Cable (10’)
A simple, all-in-one solution: plug an XLR mic or mixer output straight into your computer’s USB port—no interface required.
Great for capturing a clean signal from a single source or an aux mix output.
Plug-and-play compatible with most macOS and Windows systems.
✅ Focusrite Scarlett 2i2 (4th Gen)
Two combo XLR/TRS inputs—great for smaller setups.
Clean preamps, low latency, and USB-C.
Highly recommended for live streaming and podcasting.
Compact, high‑fidelity, and ultra‑low noise—excellent for portable systems.
💡 Quick Tips
Always use balanced cables (TRS or XLR) for long runs and noise resistance.
Select the right sample rate (44.1 kHz is fine, 48 kHz often used for streaming/video).
For aux mixes, label your outputs and confirm the mixer sends only the desired channels to Captional.
Final Thoughts
Both analog and digital methods are fully supported by Captional. The analog route—balanced aux output into a USB audio interface—is the most common, reliable broadcast setup. And if you’re working in a digital AV environment, NDI or Ethernet-based audio offers a clean, cable-free workflow. In both cases, Captional will recognize the device as an input via the interface.
So plug in, select the device, click Start, and you’re live!
Want help choosing the right interface or wiring your setup? Just reach out—we’d love to help you stream professionally with Captional.